Dry Aged Steak - ROI Calculator
The Sizzle of Success: Unveiling the ROI of a Butcher Shop's In-House Dry Aged Steaks
In the world of gastronomy, the art of dry aging beef is cons...
Welcome to the world of dry aging! If you're a meat lover, you're in for a treat. Dry aging is a process that enhances the flavor and tenderness of meat, resulting in a truly exceptional dining experience. In this blog post, we will introduce you to the concept of dry aging and guide you through the steps to use your dry ager effectively. So, let's dive in!
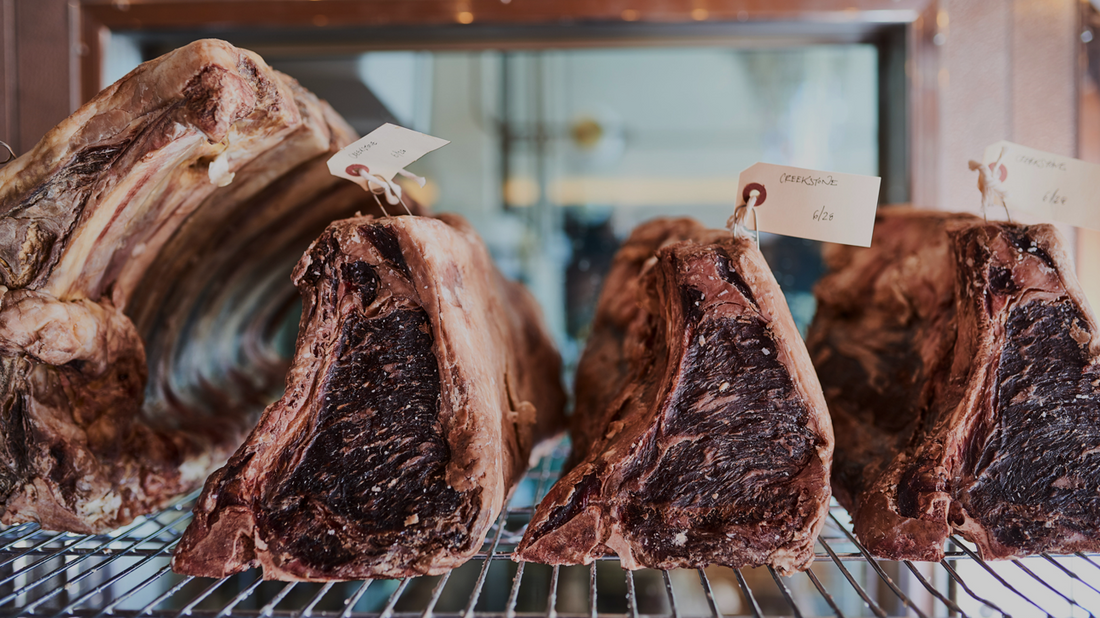
Dry aging is a traditional method of aging meat that involves hanging it in a controlled environment for a certain period of time. During this process, the meat undergoes enzymatic and microbial changes, which break down the muscle fibers and connective tissues, resulting in a more tender and flavorful steak.
For more information on the technical aspects of dry aging beef, visit our Dry Aged Beef 101.
Dry aging offers a multitude of benefits that will elevate your steak game to a whole new level. Firstly, it intensifies the natural flavors of the meat, giving it a rich, nutty, and buttery taste. Secondly, the process allows the meat to tenderize, making it incredibly juicy and melt-in-your-mouth tender.
Now that you understand the magic behind dry aging, let's explore how to use your dry ager effectively:
The optimal time range for aging meat depends on a variety of factors As a general guide us the following.
Put the prepared meat on the racks inside the dry ager, ensuring that there is enough space between each piece for proper air circulation. Close the door tightly to maintain the controlled environment.
Now comes the hardest part – waiting! The duration of the aging process depends on personal preference and the desired level of flavor and tenderness. Generally, a minimum of 21 days is recommended for noticeable results, but some enthusiasts age their meat for up to 60 days for an even more intense flavor.
Congratulations! You've now learned the basics of dry aging and how to use your dry ager effectively. Remember, patience is key when it comes to dry aging. The longer you wait, the more rewarding the results will be. So, fire up your dry ager, select your favorite cut of meat, and embark on a culinary adventure that will leave your taste buds craving for more. Happy dry aging!