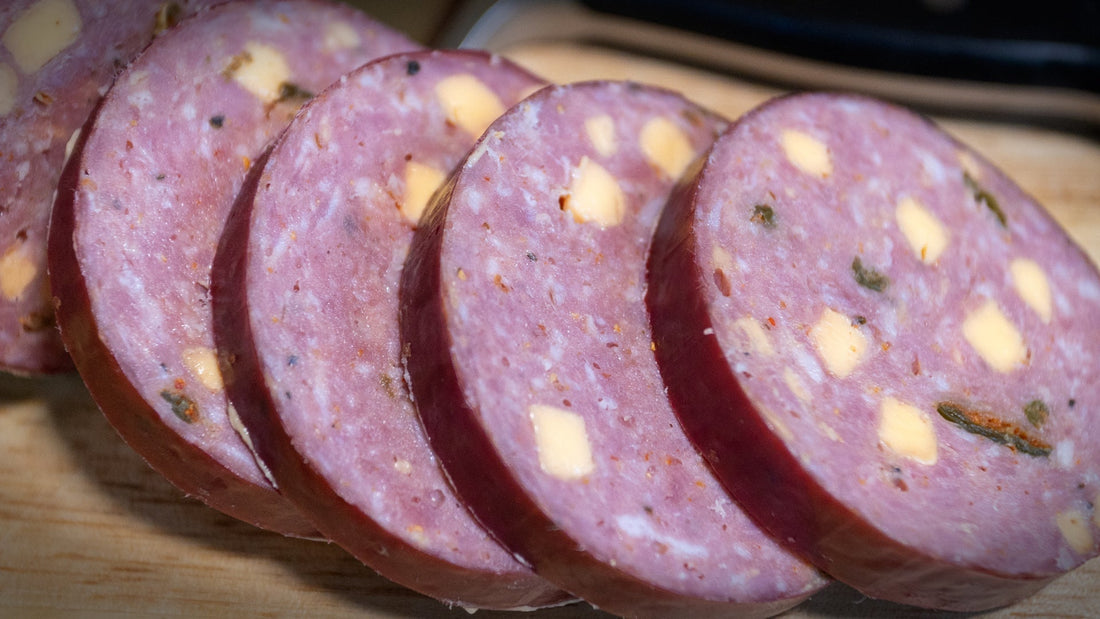


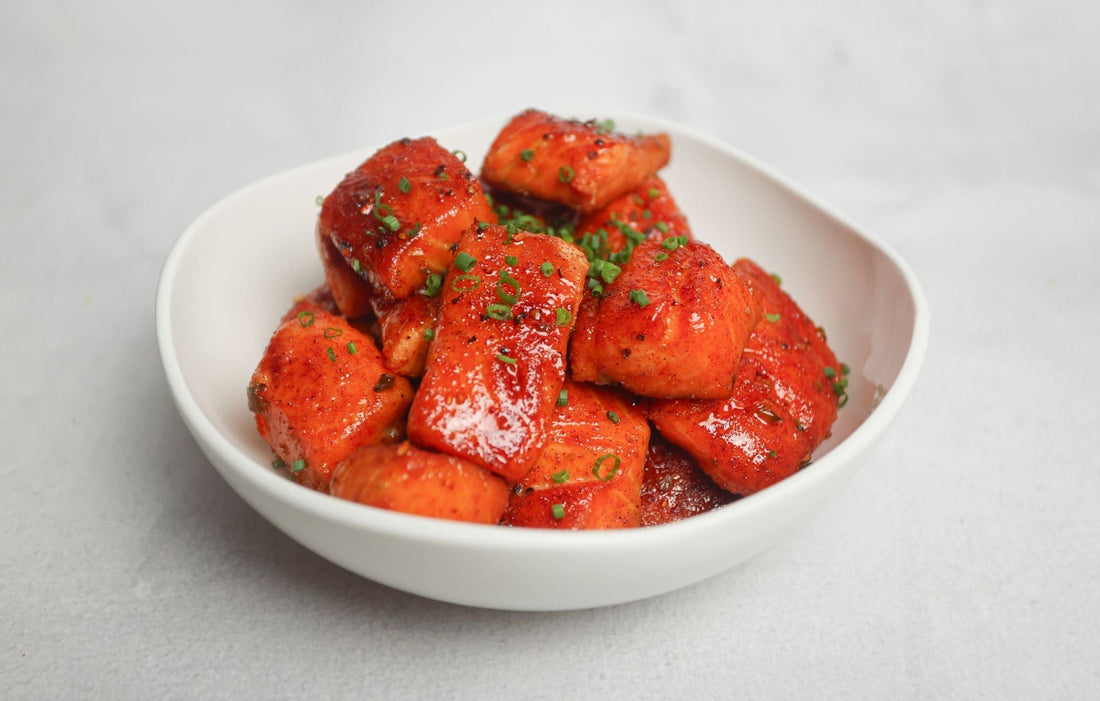
Rodeo Rub Salmon Burnt Ends
Learn how to make tender salmon burnt ends with PS Seasoning's Rodeo Rub and the Pro Classic smoker. From curing to smoking and glazing with Candie...
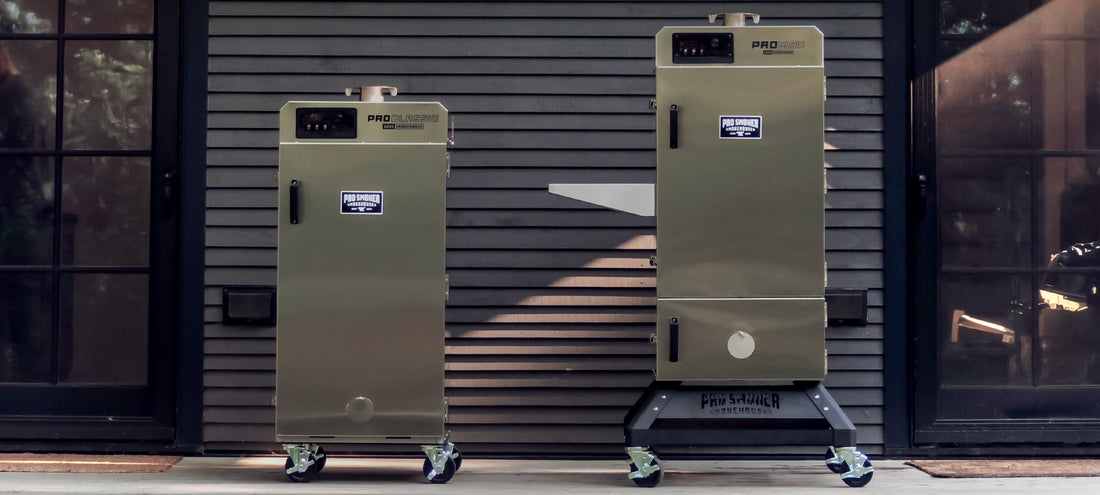
Before you you're ready to smoke like a Pro, it's crucial to season your smoker properly. Seasoning, often referred to as "breaking in," is the process of prepping your new smoker to ensure it performs at its best. In this guide, we'll walk you through the steps to season your Pro Classic or Pro Max smoker effectively.
Step 1: Apply Non-Stick Cooking Oil or Mineral Oil to Door Gasket
The door gasket is a vital component of your smoker, ensuring a tight seal and maintaining consistent temperature levels. To keep it in top condition, apply a thin layer of non-stick cooking oil or mineral oil to the gasket. This simple step will help prevent any potential leaks and ensure a smooth smoking process.
Step 2: Set Controller to Smoke and Adjust Temperature
Start by setting the smoker's controller to the "Smoke" setting and adjusting the temperature to 100 degrees Fahrenheit (37 degrees Celsius). This initial low temperature helps in the curing process and prepares the interior surfaces of the smoker for higher-temperature cooking.
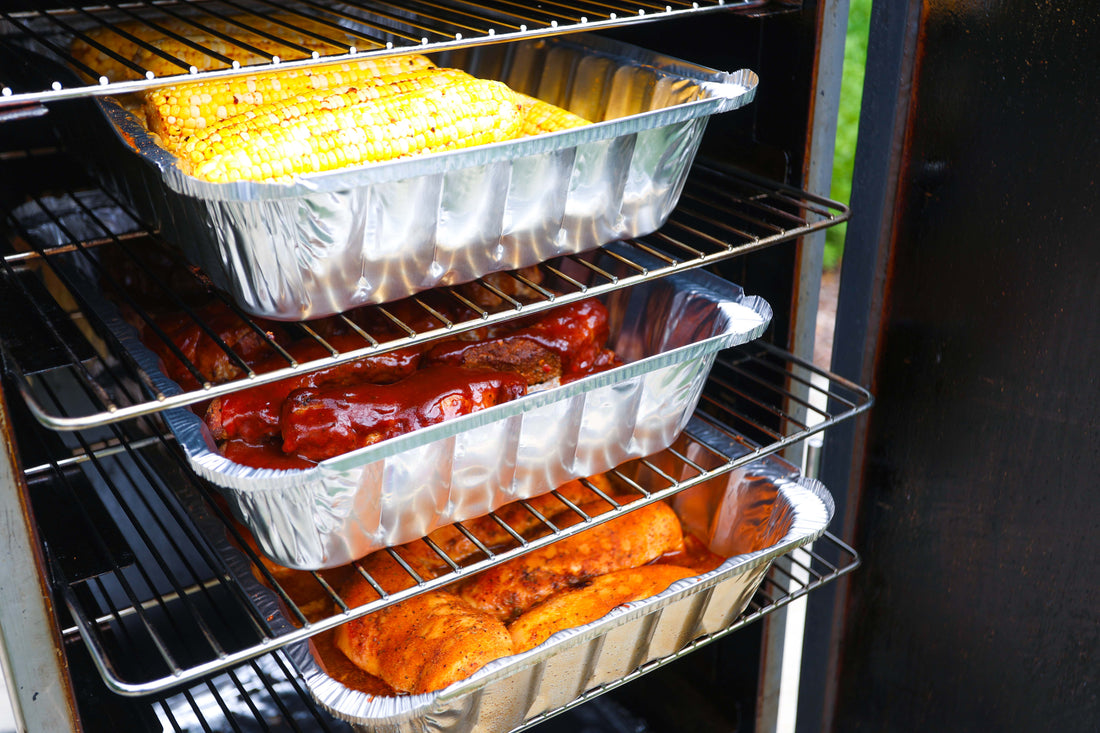
Step 3: Prepare the Sawdust Pan
Your Pro Series smoker utilizes sawdust to generate flavorful smoke. Prepare the sawdust pan by filling it approximately 3/4 full with sawdust. It's important to dampen the sawdust thoroughly with water, ensuring that it's not overly wet but has a consistency that allows it to smolder and produce smoke. Funnel the sawdust towards the outer edges of the pan, leaving space in the center.
Step 4: Increase Temperature and Adjust Dampers
Now, increase the smoker's temperature to 150 degrees Fahrenheit (65 degrees Celsius). To allow for proper airflow and smoke circulation, open the dampers to approximately halfway. This setting ensures that your smoker operates at a slightly higher temperature, further preparing the interior surfaces and helping to burn off any manufacturing residues.
Step 5: Smoke and Cool Down
Let the smoker run at 150 degrees Fahrenheit for at least 3 hours. During this time, the sawdust will produce smoke, which will infuse the interior surfaces with a delicious smoky aroma. After the 3-hour period, turn off the smoker and allow it to cool down completely.
Once your Pro Series smoker has cooled down, it's officially seasoned and ready for use. This process not only ensures optimal performance but also enhances the flavor of your future smoked creations.
In conclusion, seasoning your Pro Series smoker is a simple yet crucial step that sets the stage for fantastic smoking adventures. By following these steps, you'll be well on your way to achieving mouthwatering results and unlocking the full potential of your new smoker. Happy smoking!